Key Takeaways
- Start with pro level camera and control settings instead of tweaking defaults; the same baseline works on Xbox, PlayStation, Switch Pro, or any standard controller.
- Pros use a narrow range of settings for maximum field vision, readable ball, and reliable inputs; copying that baseline saves time while you learn.
- Use Zen, Daniel, or Dralii as reference configs and apply camera plus bindings together; mix-and-match with defaults hurts consistency.
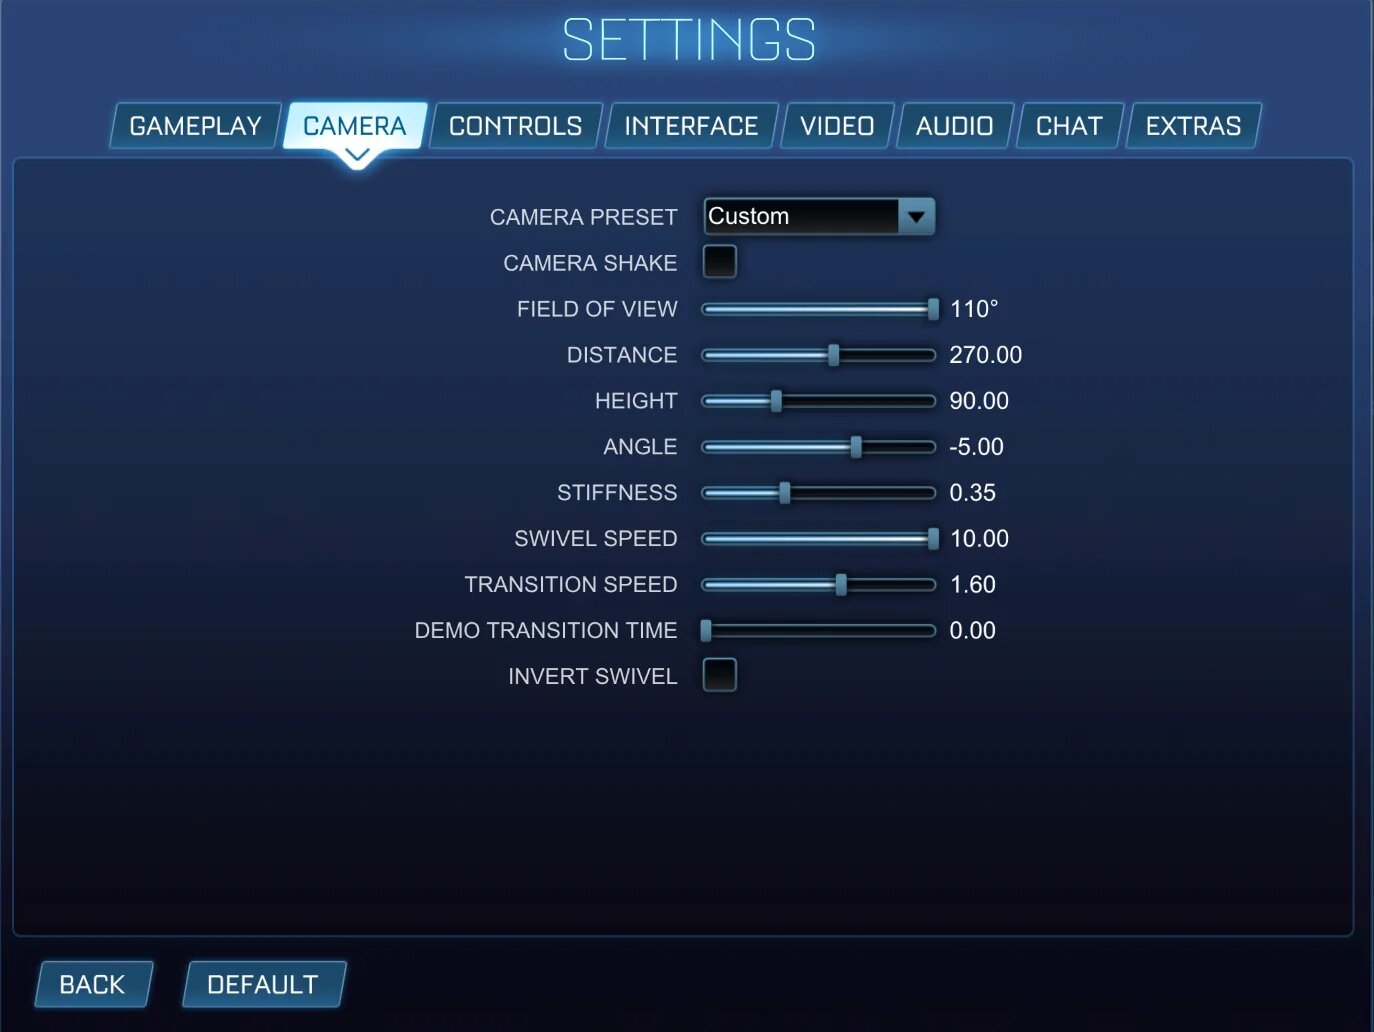
- Put boost and directional air roll on upper shoulder buttons, set FOV to 110 and distance to 270 (or 260 to 280), and turn camera shake off before changing anything else.
- After you are comfortable with a pro setup, change only one setting at a time and only when you can name the problem it fixes.
Start With Pro Rocket League Camera and Control Settings
If you are new to Rocket League, default bindings and camera settings often hold you back. The game does not explain why certain choices work at high level, so many players spend hours adjusting from a weak starting point. This guide gives you a better baseline: pro settings. Copy them first, then personalize only after you are used to them. The advice here is controller agnostic. Whether you use Xbox, PlayStation, Switch Pro, or any standard layout with two sticks, four face buttons, four shoulder buttons, and two triggers, the same ideas apply.
In this post you will learn why beginners should start from pro settings, get three pro configs you can copy (Zen, Daniel, and Dralii), and see exactly what to change first in your camera and controls. By the end you will have a clear path from default setup to a setup that supports growth instead of limiting it.
| Setting | Recommended |
|---|---|
| FOV | 110 |
| Distance | 270 (or 260 to 280) |
| Camera shake | Off |
| Boost | Upper shoulder button (bumper) |
| Directional air roll | Upper shoulder button (bumper) |
Why Beginners Should Start With Pro Settings
Pros use a narrow band of camera and control settings because that band works at the highest level. For beginners, that same band is the right starting point. You avoid the trap of tuning from a weak baseline and instead build habits on settings that already solve the problems that matter.
Those problems are consistent across controllers. The table below sums up why pro settings beat defaults.
| Defaults | Pro baseline | |
|---|---|---|
| Field vision | Lower FOV, less of the field on screen | FOV 110, more of the field at a glance |
| Ball readability | Default distance, camera shake on | Distance 270 to 280, shake off |
| Boost and air roll | Often on face buttons, awkward for fast aerials | Upper shoulder buttons, thumbs stay on sticks |
Pro choices address three things in practice:
- Maximum field vision. FOV 110 gives you more of the field on screen so you see teammates, opponents, and the ball without swinging the camera constantly. Default FOV is lower and limits what you can read at a glance.
- Readable ball. Distance around 270 to 280 and camera shake off keep the ball easy to track and reduce distraction. Default distance and shake make the ball harder to read during fast play.
- Simultaneous inputs. Boost and directional air roll on the upper shoulder buttons (bumpers) let you boost, jump, and air roll without fighting the face buttons. Default layouts force awkward finger moves that slow down fast aerials and recovery. The same idea applies on Xbox, PlayStation, Switch Pro, or any standard layout.
Starting from a pro baseline means you spend your practice time on mechanics and decision making, not on rediscovering settings that the best players already use. Tweaking from defaults while you are still learning is a waste of time. Copy a proven setup first, then adjust only when you can name what bothers you.
Three Pro Configs to Copy (Zen, Daniel, Dralii)
Use these as your reference configs. Camera and deadzone values are the same regardless of controller (Xbox, PS4/PS5, Switch Pro, and so on). The table below is sourced from Liquipedia Rocket League; the community keeps values there updated. For full bindings (which button does what), Liquipedia lists each pro by name. When you read or copy bindings, think in terms of position: upper shoulder buttons, face buttons, triggers. That keeps things controller agnostic.
| Setting | Zen | Daniel | Dralii |
|---|---|---|---|
| FOV | 110 | 110 | 110 |
| Height | 100 | 100 | 90 |
| Angle | -3.0 | -3.0 | -6.0 |
| Distance | 270 | 270 | 260 |
| Stiffness | 0.35 | 0.35 | 0.45 |
| Swivel speed | 4.00 | 4.70 | 4.20 |
| Transition speed | 1.40 | 1.20 | 1.40 |
| Camera shake | Off | Off | Off |
| Deadzone | 0.07 | 0.05 | 0.07 |
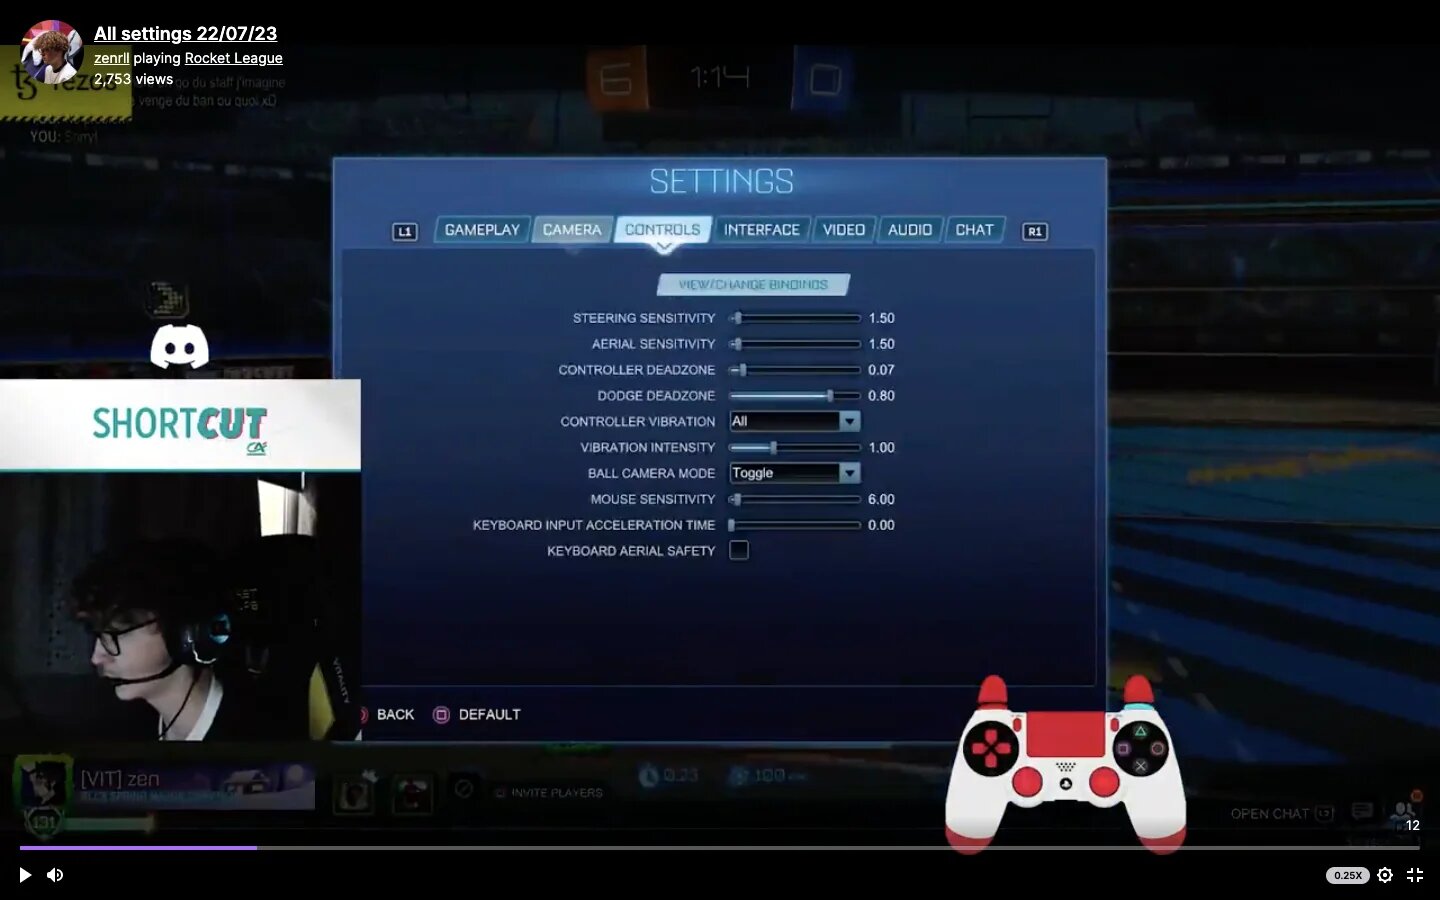
| Dodge deadzone | 0.80 | 0.70 | 0.77 |
| Steering sensitivity | 1.50 | 1.30 | 1.77 |
| Aerial sensitivity | 1.50 | 1.30 | 1.77 |
| Pro | Best for |
|---|---|
| Zen | Default reference; copy this first. |
| Daniel | Same camera core as Zen, slightly different swivel, transition, deadzone, and sensitivity. |
| Dralii | Tighter camera (lower height, more angle); still within pro norms. |
- Zen. The default reference: FOV 110, height 100, angle -3, distance 270, stiffness 0.35, swivel 4.00. Copy this first. Liquipedia: Zen
- Daniel. Same camera core as Zen; only swivel (4.70), transition (1.20), deadzone (0.05), and sensitivity (1.30) differ. The baseline is stable; the rest is preference. Liquipedia: Daniel
- Dralii. A tighter variant: height 90, angle -6, distance 260, stiffness 0.45, sensitivity 1.77. Still FOV 110 and no shake. Proof that you can lean aggressive and stay inside pro norms. Liquipedia: Dralii
What to Do First
Apply the full pro style setup at once: camera and bindings together. A mix of default and pro settings is the worst of both worlds. Your brain has to keep switching between two different feels, and you never get a stable baseline. Here is the order that works.
| Step | Action |
|---|---|
| 1 | Put boost and directional air roll on the upper shoulder buttons (bumpers). |
| 2 | Turn camera shake off; set FOV to 110 and distance to 270 (or 260 to 280). |
| 3 | Copy the rest of your chosen pro config (Zen, Daniel, or Dralii) from the table above or Liquipedia. |
| 4 | Once on a pro baseline, tweak one setting at a time; change only what clearly bothers you. |
- Put boost and directional air roll on the upper shoulder buttons (bumpers). The four face buttons cannot support fast aerials and consistent air roll; the upper shoulder buttons can. Same mapping idea on Xbox, PlayStation, Switch Pro, or any standard controller. Check Liquipedia for each pro’s exact bindings and mirror the positions (e.g. boost and air roll on the bumpers).
- Turn camera shake off. Set FOV to 110 and distance to 270 (or 260 to 280). These are nonnegotiable for clarity and field awareness. Defaults work against you here.
- Copy the rest of your chosen pro config (Zen, Daniel, or Dralii) from the table above or from Liquipedia. Enter every value so you start from a single, coherent setup.
- Once you are on a pro baseline, tweak one setting at a time. Change only what clearly bothers you. If you cannot name the problem, leave the setting as is until you can.
Liquipedia keeps the list of player camera settings and bindings updated. The norms in this guide stay stable; use that page for exact values when you set things up or when you want to try another pro’s config.
Get to Training
As a beginner, pro settings are your baseline. Use Zen, Daniel, or Dralii as your template. Adjust only what you can name as a problem. Once your camera and controls are set, your time is better spent in training and in games: finding packs that match your rank, practicing rotation and game sense, and using guides to turn that practice into better play.
New to Rocket League and looking to rank up? Start here.
Frequently Asked Questions
What are the best Rocket League camera settings for beginners?
Start with a pro config: FOV 110, distance 270 (or 260 to 280), camera shake off, and the rest from Zen, Daniel, or Dralii (see the table above). Copy one of them in full rather than mixing defaults with a few pro tweaks.
Why put boost and air roll on the shoulder buttons?
The face buttons cannot support fast aerials and constant air roll at the same time. Putting boost and directional air roll on the upper shoulder buttons (bumpers) keeps your thumbs on the sticks and lets you input boost, jump, and air roll without awkward finger moves. The same idea applies on Xbox, PlayStation, or Switch Pro.
Where can I find exact pro settings and bindings?
Liquipedia Rocket League lists camera settings and bindings for pros. The community keeps it updated. Use it to copy a full config or to look up a specific player.
When should I change my settings?
Only after you are used to a full pro baseline. Then change one setting at a time, and only when you can name what bothers you. If you cannot describe the problem, leave the setting as is.