Key Takeaways
-
Focused practice beats queueing: Workshop maps give targeted reps that translate to real games across aerials, dribbling, shooting, defense, and recoveries.
-
PC-only access: Steam uses the built-in Workshop; Epic players need BakkesMod with the Workshop Map Loader plugin.
-
Train with intent and consistency: Revisit “deep study” maps weekly, use constraints and streak goals, and favor realistic scenario maps; fastest returns come from True Shot and Immortals Tower, with Rings 3 and Hornet’s Nest as accessible starters.
Improve faster in Rocket League with these 10 expert-picked workshop maps for aerials, shooting, dribbling, and more. Updated for 2025.
Improving With Workshop Maps
Rocket League is a game of mechanics, and while casual play and ranked experience are important, they often don’t offer the focused repetition needed to actually level up your skillset. That’s where workshop maps come in. Built by the community, these maps provide targeted, often beautifully designed environments where you can refine your control, decision-making, and consistency – all without the stress of live matches.
But let’s be honest: not all workshop maps are created equal. Some are fun but mechanically shallow. Others look great but don’t translate well to actual gameplay. For this list, I’ve handpicked ten workshop maps that deliver real improvement. Every map here was chosen because it directly helps with in-game mechanics that matter – aerial control, dribbling, shooting, positioning, recoveries, and more.
Whether you’re a rising Diamond or already in high Champ, these maps will give you focused, high-quality reps that accelerate your growth far more than simply queuing up for another 3v3 match.
At-a-Glance Summary
| Rank | Map | Primary Focus | Difficulty | Deep Study? |
|---|---|---|---|---|
| 1 | Immortals Tower | Overall car control, efficiency | Intermediate – Advanced | Optional |
| 2 | Hornet’s Nest | Recoveries, movement, reactions | Beginner – Intermediate | No |
| 3 | True Neutral’s True Shot | Game-like shooting reads | Intermediate – Advanced | No |
| 4 | Eversax | Elite-level dribble + air control | Very Advanced | Yes |
| 5 | Obstacle Course #2 | Aerial control, recovery paths | Beginner – Advanced | No |
| 6 | True Neutral’s True Defense | Rotations, saves, recoveries | Beginner – Intermediate | No |
| 7 | The Path | Dribble + air dribble endurance | Very Advanced | Yes |
| 8 | Aim Training | Shooting accuracy + power | Beginner – Advanced | No |
| 9 | Dribbling Challenge #2 Overhaul | Ground dribbling mastery | Intermediate – Advanced | Yes |
| 10 | Speed Jump: Rings 3 | Aerial control fundamentals | Beginner – Intermediate | No |
Quick Comparison: Pick the Right Map
| Goal | Best Map(s) | Why It Works |
|---|---|---|
| Fastest in-game improvement | True Shot, Immortals Tower | Game-like reads, real decision speed |
| Recoveries + movement | Hornet’s Nest, Obstacle Course #2 | Reactive control and awkward paths |
| Shooting consistency | Aim Training, True Shot | Volume reps with varied angles |
| Ground dribbling | Dribble 2 Overhaul | Level-by-level control under pressure |
| Advanced hybrid mechanics | Eversax, The Path | High difficulty, mixed movement demands |
How to Access Rocket League Workshop Maps
It’s important to note upfront that Rocket League workshop maps are PC-only. Console players (PlayStation, Xbox, Nintendo Switch) do not have direct access to the Steam Workshop or the necessary modding tools. Steam Workshop access requires the Steam version of Rocket League (no longer available to new players), while Epic Games Store users must load maps with a third-party tool.
For Steam Players
If you own Rocket League through Steam, accessing workshop maps is straightforward:
- Launch the Steam client.
- Navigate to the Rocket League Workshop: Find and access the dedicated Rocket League Workshop section within Steam.
- Browse and Subscribe: Explore the various user-created maps. Once you find one you like, simply click the “Subscribe” button to download it.
- Access in-game: After downloading, the maps can be found in Rocket League by selecting “Play,” then “Custom Games,” and finally “Workshop” from the main menu.
For Epic Players
Epic Games users, who make up a large portion of the Rocket League player base, need a third-party modding tool called BakkesMod to access workshop maps. BakkesMod extends Rocket League’s functionality, including the ability to load custom maps. Here’s how to get started:
- Install BakkesMod: Download and install BakkesMod from its official website.
- Install Workshop Map Loader Plugin: Go to the BakkesMod plugin installation page and install the “Workshop Map Loader and Downloader” plugin. A black window will confirm installation.
- Create a Map Folder: In your BakkesMod directory, create a new folder specifically for your downloaded maps and copy its file path.
- Configure BakkesMod: Open BakkesMod, go to the “Plugins” tab, select “WorkshopMapLoader,” paste the copied file path into the “Save Path” field (add a forward slash
/at the end), and click “Save Path”. - Download and Load Maps: In BakkesMod’s “Search Workshop” tab, find and download your desired maps. Then, return to the “Map Loader” tab and click “Refresh Maps” to load them into the game.
On To The List, Our Top 10 Workshop Maps For Skill Improvement
10. Speed Jump: Rings 3 – dmc
Category: Aerial Car Control, Precision, Boost Management
Difficulty: Beginner – Intermediate
Let’s start off with a bit of a hot take: I’m not a huge fan of rings maps.
Don’t get me wrong – they’re fun, and they’ve basically become the go-to when it comes to aerial practice. But I’ve always felt like they’re better for speedrunning and racing than they are for truly refining aerial car control. The rings are often oversized, so you’re not getting the kind of tight movement precision that translates directly into game situations. Plus, flying fast over long distances isn’t exactly how most aerials work during matches.
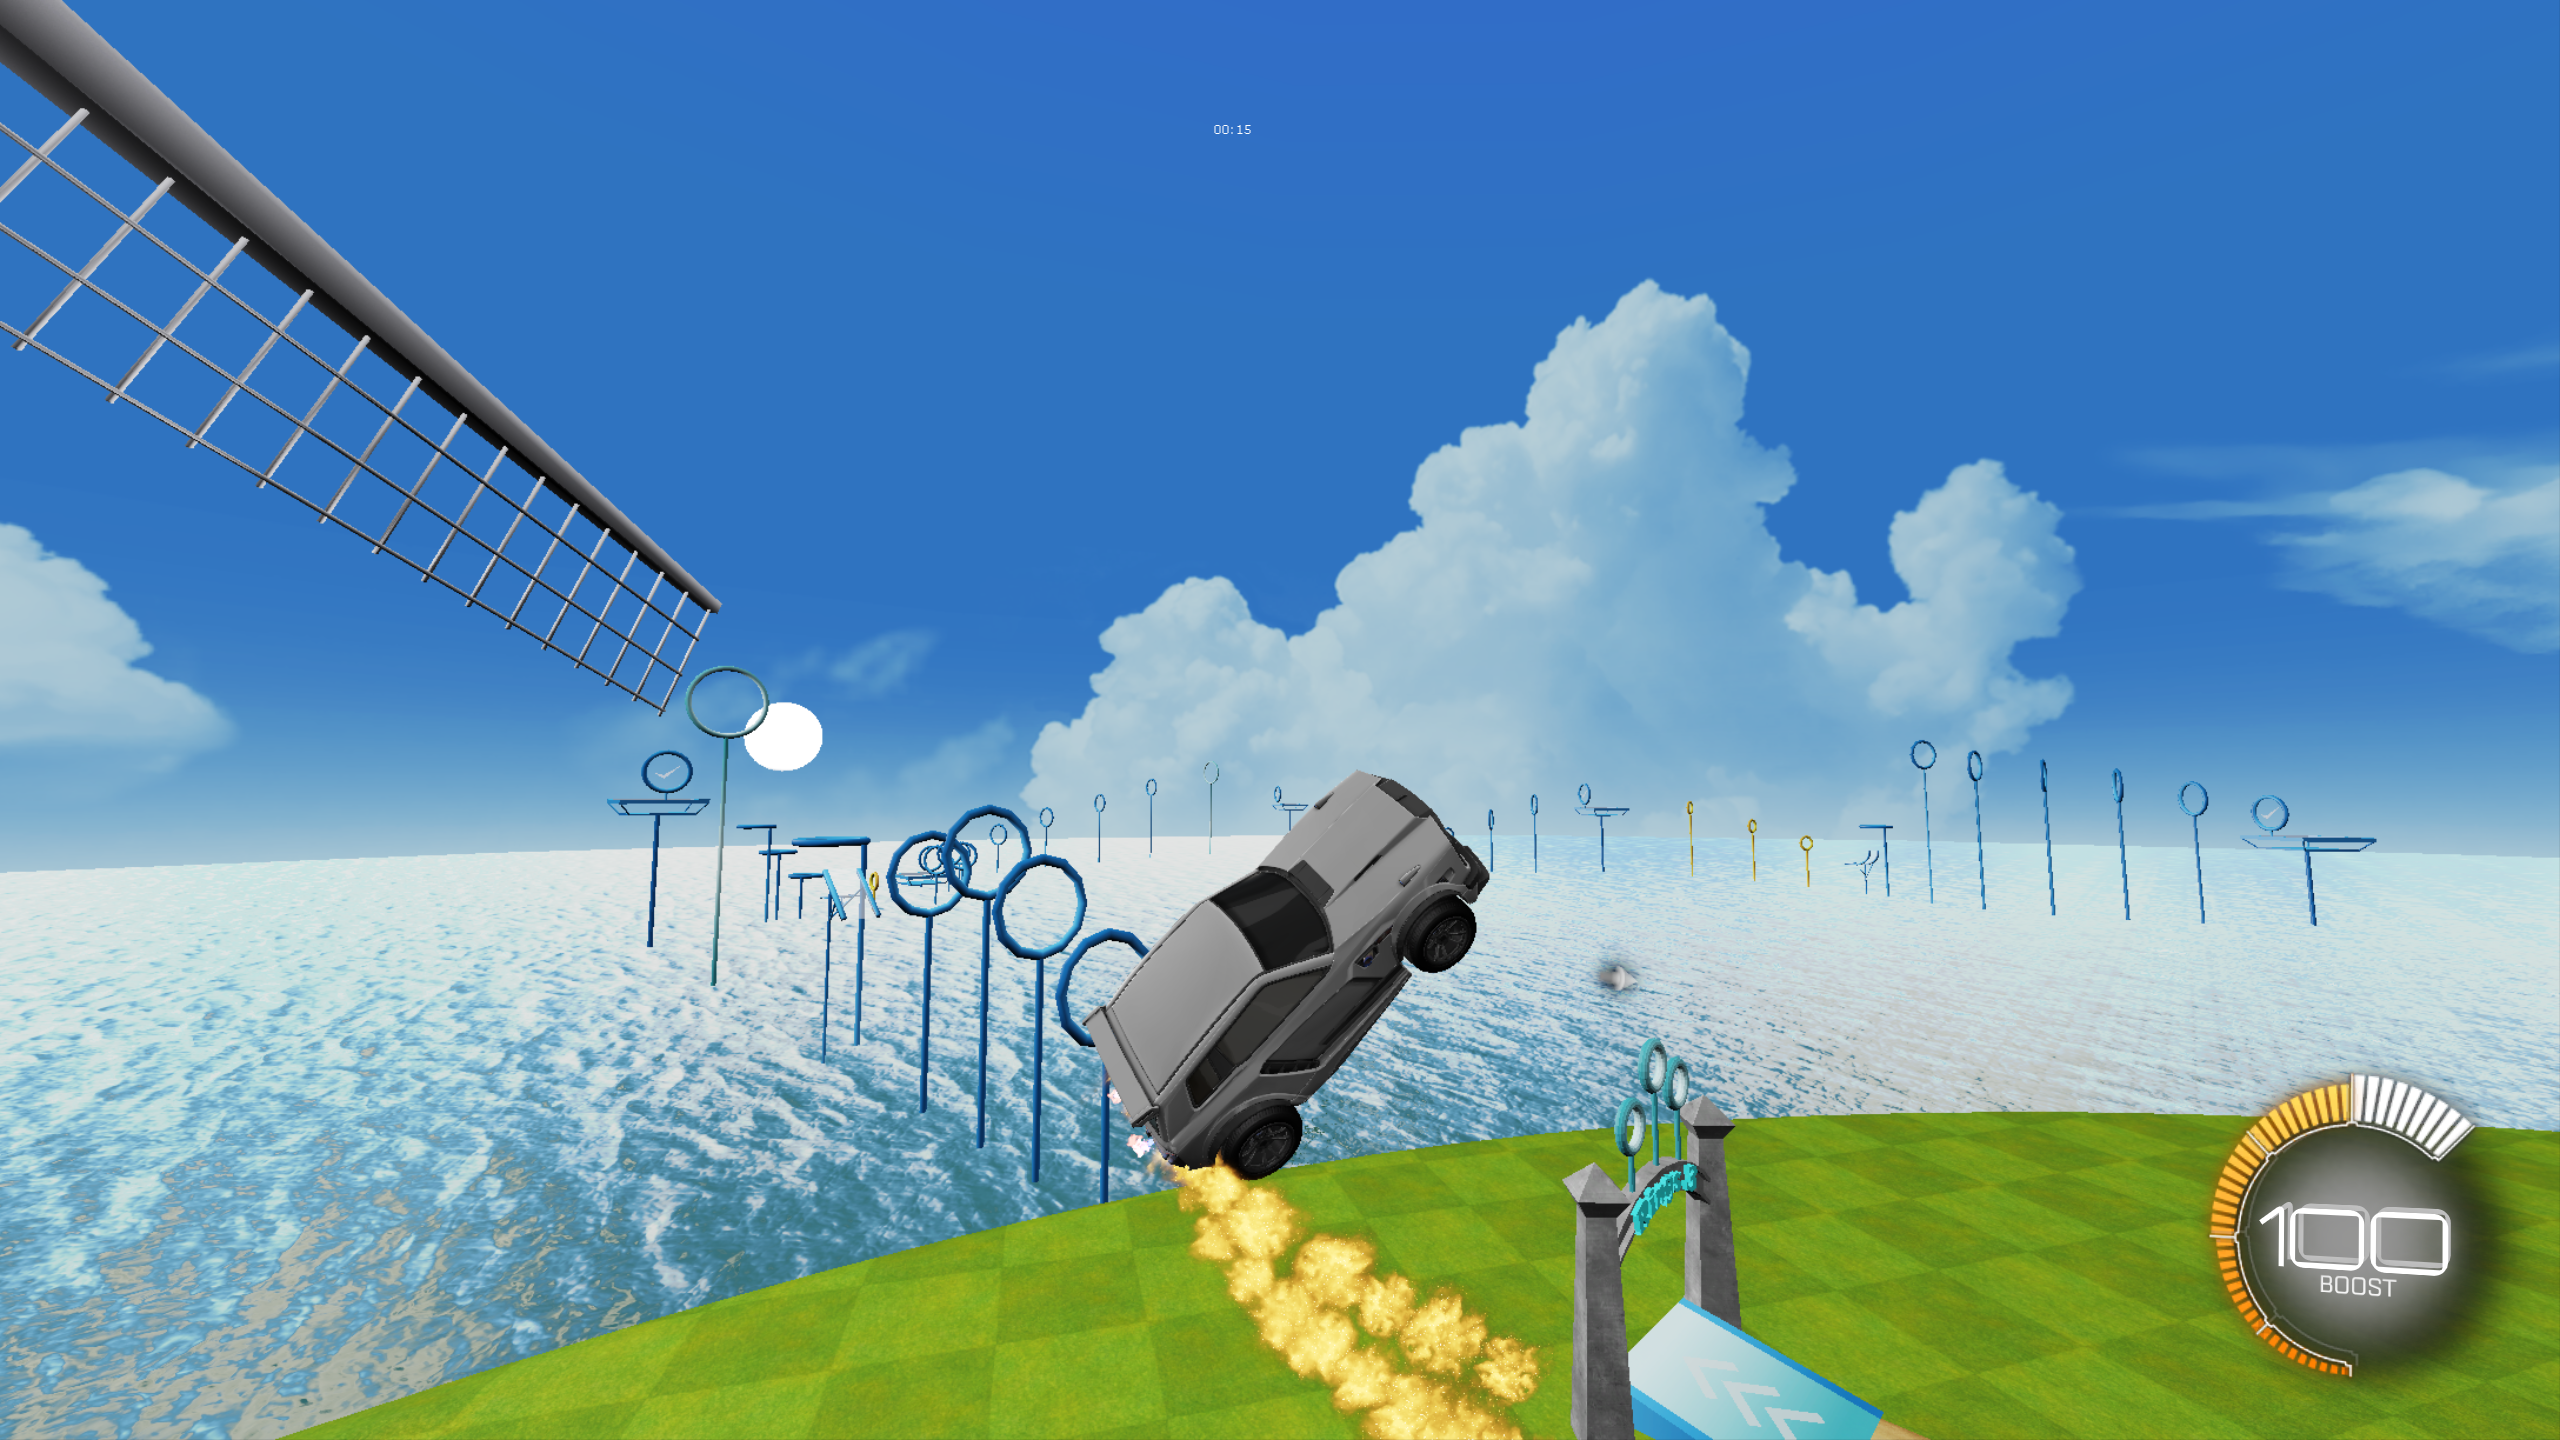
That said, I still wanted to include this map because it’s genuinely useful, especially for players just starting to develop their aerial mechanics. Speed Jump: Rings 3 stands out from the crowd thanks to its clean design and well-paced difficulty curve. The course length hits a nice sweet spot (around 5–20 minutes depending on your skill), and the ring sizes change as you go, which forces you to adjust your speed and boost usage on the fly.
If you’re using this map to get better (not just to zoom through it), I strongly recommend setting personal constraints. Pick one of the following before you start your run:
-
Always reorient with air roll after adjustments (standard control)
-
Use only air roll left/right (ARL/ARR) the entire run
-
Don’t air roll at all
-
Fly the entire map in a locked orientation (e.g. upside down, sideways, etc.)
Each of these forces you to focus on a different aspect of aerial car control and will pay off way more than just mindlessly chasing a fast completion time.
9. Dribbling Challenge #2 (Dribble 2 Overhaul) – French Fries (Overhaul by 0xDigby & Martinn)
Category: Ball Control, Ground Dribbling, Dribble Improvisation, Deep Study
Difficulty: Intermediate – Advanced

Back in the early days of Rocket League custom maps, dribble challenges turned into a bit of an arms race – each one trying to outdo the last in difficulty. And while newer maps have pushed the ceiling even higher, this overhaul of Dribble Challenge #2 still stands as my top recommendation for dribble-focused training.
My first full clear took over three hours (which I don’t recommend). This map is best tackled in small pieces. With consistent practice, most players can work their time down to under 20 minutes. The early levels are great for developing control, and the final few levels spike in difficulty, giving even high-level players something to grind.
This is also the first map on this list I’ve labeled “deep study.” When I’ve worked with players in the past, I always included a long-term map like this meant to be practiced at least once a week for several months. That kind of steady, repeated exposure builds true mechanical comfort.
Here’s the truth: If you just grind for a few hours to beat the map once, you’ll feel accomplished – but you likely won’t notice much difference in your actual gameplay. On the other hand, if you revisit this map regularly, chip away at tough levels, compete against your past runs, and let the mechanics become second nature, that’s when you start seeing real improvement in ranked.
This map rewards patience. Stick with it, and your ball control will level up in a big way.
8. Aim Training – CoCo
Category: Shooting Accuracy, Power, Shot Placement, Precision Aiming
Difficulty: Beginner – Advanced

There’s not a ton to say here. Aim Training by CoCo is just a rock-solid, no-frills workshop map for working on your shooting. If you’re a newer player, this might be one of the best places to start grinding. It’s built to help you develop raw power, accuracy, and consistency – all things you’ll need to finish plays and win games.
It’s also super versatile. You can run it as a quick 5-minute warmup or leave it looping for longer sessions when you’re trying to build up muscle memory.
To make the most of your time in this map, here are a few tips:
-
Avoid autopilot. Don’t just drive straight at the ball over and over. Vary your timing, take different angles, mix in some micro-adjustments.
-
Change shot types. Mix in power shots, dribble flicks, or short air carries instead of doing the same motion each time.
-
Set streak goals. Before you switch shot styles, hit a target – like 10 strong shots in a row, or 3 flicks without a miss. Force yourself to stay focused and intentional.
Most importantly: don’t shy away from pressure. Grinding mechanics is one thing, but trying to hit your 20th power shot in a row after hitting 19 in a row? That’s the kind of mental stress that actually translates into clutch plays during ranked overtime. Embrace the nerves, they’re what make you better.
7. The Path – Dirty Daub
Category: Ball Control, Ground Dribbling, Air Dribbling, Deep Study
Difficulty: Very Advanced
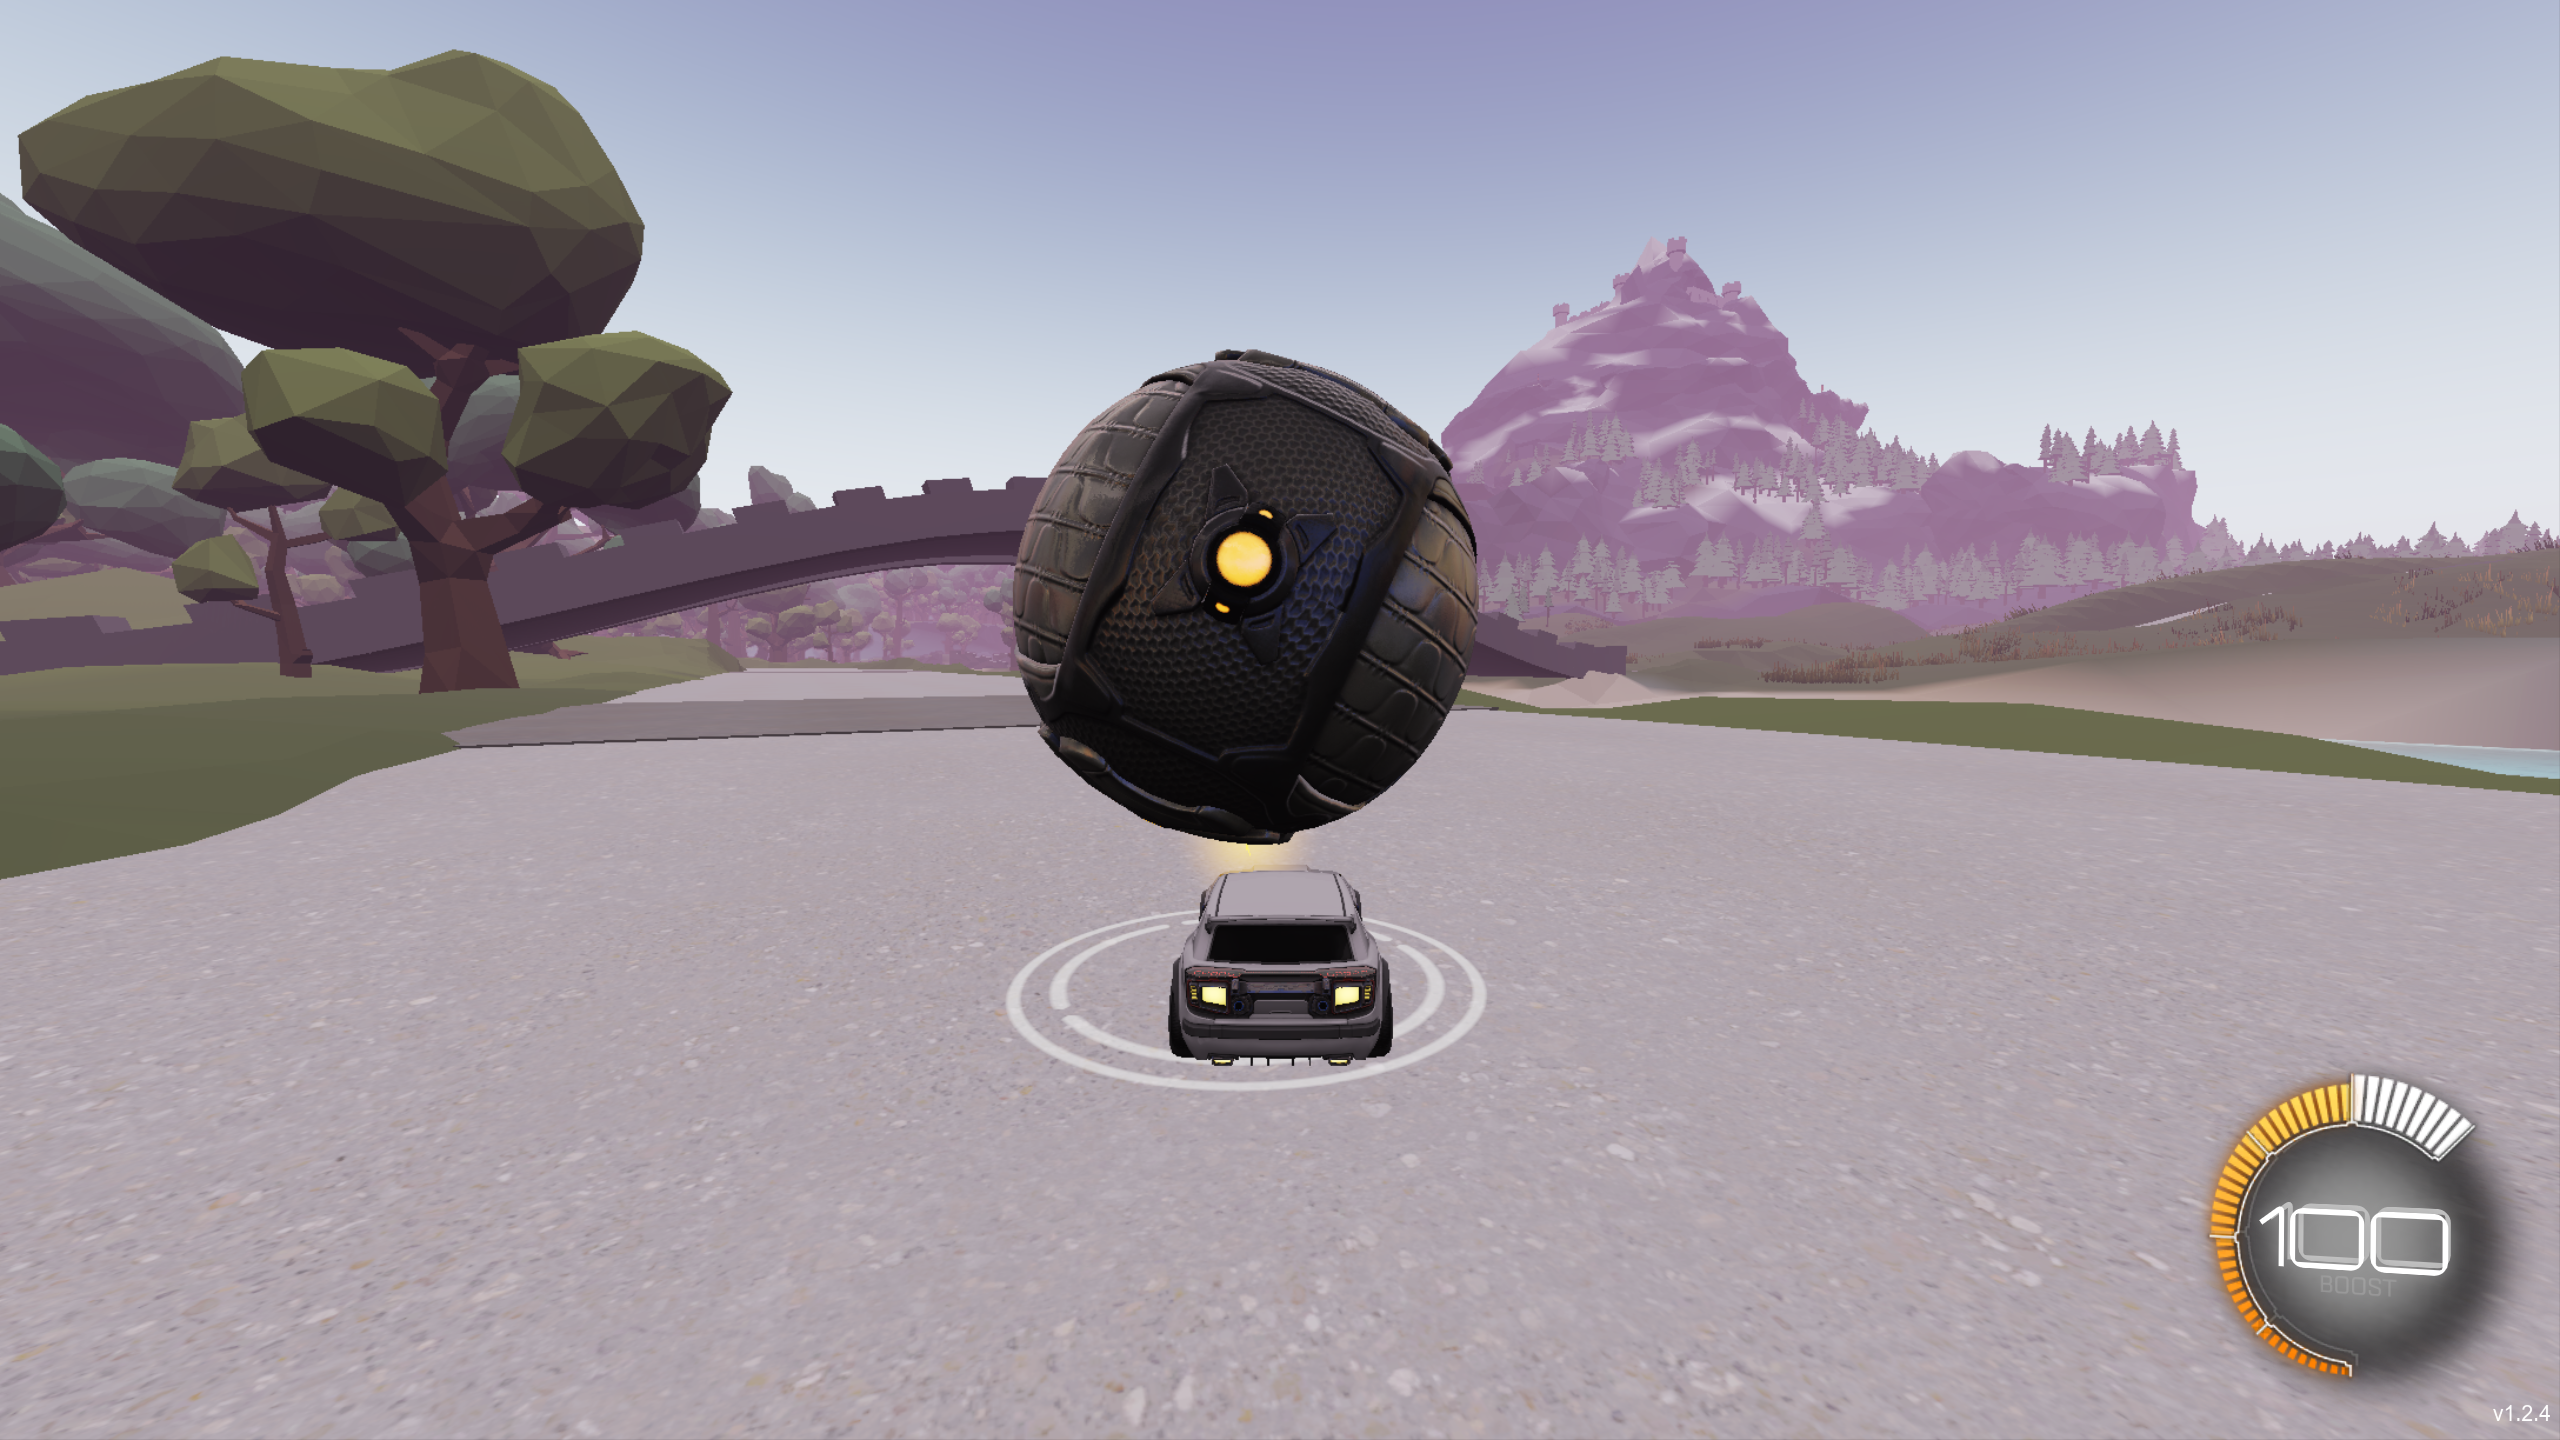
Released in 2022, The Path is hands down one of the most beautiful workshop maps I’ve ever played. Plenty of great-looking maps exist, but most don’t offer enough mechanical value to make this kind of list. The Path strikes a rare balance, it’s visually immersive and mechanically demanding.
If you struggle to stay focused in sterile training environments and want something with a bit of eye candy, this is for you. That said, don’t let the serene forest vibes fool you – this map is hard. Like, Grand Champion to low-SSL hard. It throws you straight into long, unforgiving dribble sections with no real ramp-up in difficulty.
That harsh difficulty curve is honestly my biggest criticism. I can’t help but wonder how much more approachable it would’ve been if the early dribble sections used push-able balls instead of dropping into the ground for a full reset. That change alone could’ve opened the map up to mid-rank players who want to train without hitting a wall in the first 30 seconds.
Later on, the map mixes in some air dribble sections, and that kind of context switch is tough to balance, especially if you’re not already confident in your mechanics (more on that when we get to Map #4).
Bottom line: I do recommend The Path for players chasing improvement, especially if you’re motivated by aesthetic or narrative environments. But for most, it’s better as a once-in-a-while challenge than a daily grind. Treat it like a scenic hike, not a sprint.
6. True Neutral’s True Defense – True Neutral (cooptooncrootoo)
Category: Defensive Rotations, Saves, Wall Defense, Boost Management
Difficulty: Beginner – Intermediate
This map was designed to train a full spectrum of defensive mechanics, everything from post rotations and wall clears to demo awareness and recovery timing. Unlike most training packs or free play setups, True Neutral’s True Defense simulates real-game situations where your positioning, reactions, and follow-up decisions actually matter.
I stumbled on this map while researching for this article, and I was seriously impressed. It’s the kind of map Rocket League desperately needs more of, a game-paced environment where you’re not just practicing single saves, but reacting, recovering, and repositioning like you would in ranked.
What makes it special is the flow. You’re free to position however you want, and you get a brief heads-up on where the ball is coming from. Then it’s not just about stopping the shot – it’s about what you do next. Save it, recover quickly, grab boost, rotate. It builds muscle memory around save > recovery > reposition, which is something no standard training pack does well.
I especially recommend this map to low- to mid-rank players who want to build better defensive instincts without burning out in chaotic online games.
A quick heads-up: some players have reported issues with certain modules not working exactly as intended. If you load it up and things feel slightly off, don’t worry. The map still delivers a ton of value even if it’s not functioning perfectly end-to-end.
5. Obstacle Course #2 – French Fries
Category: Aerial Car Control, General Car Control
Difficulty: Beginner – Advanced
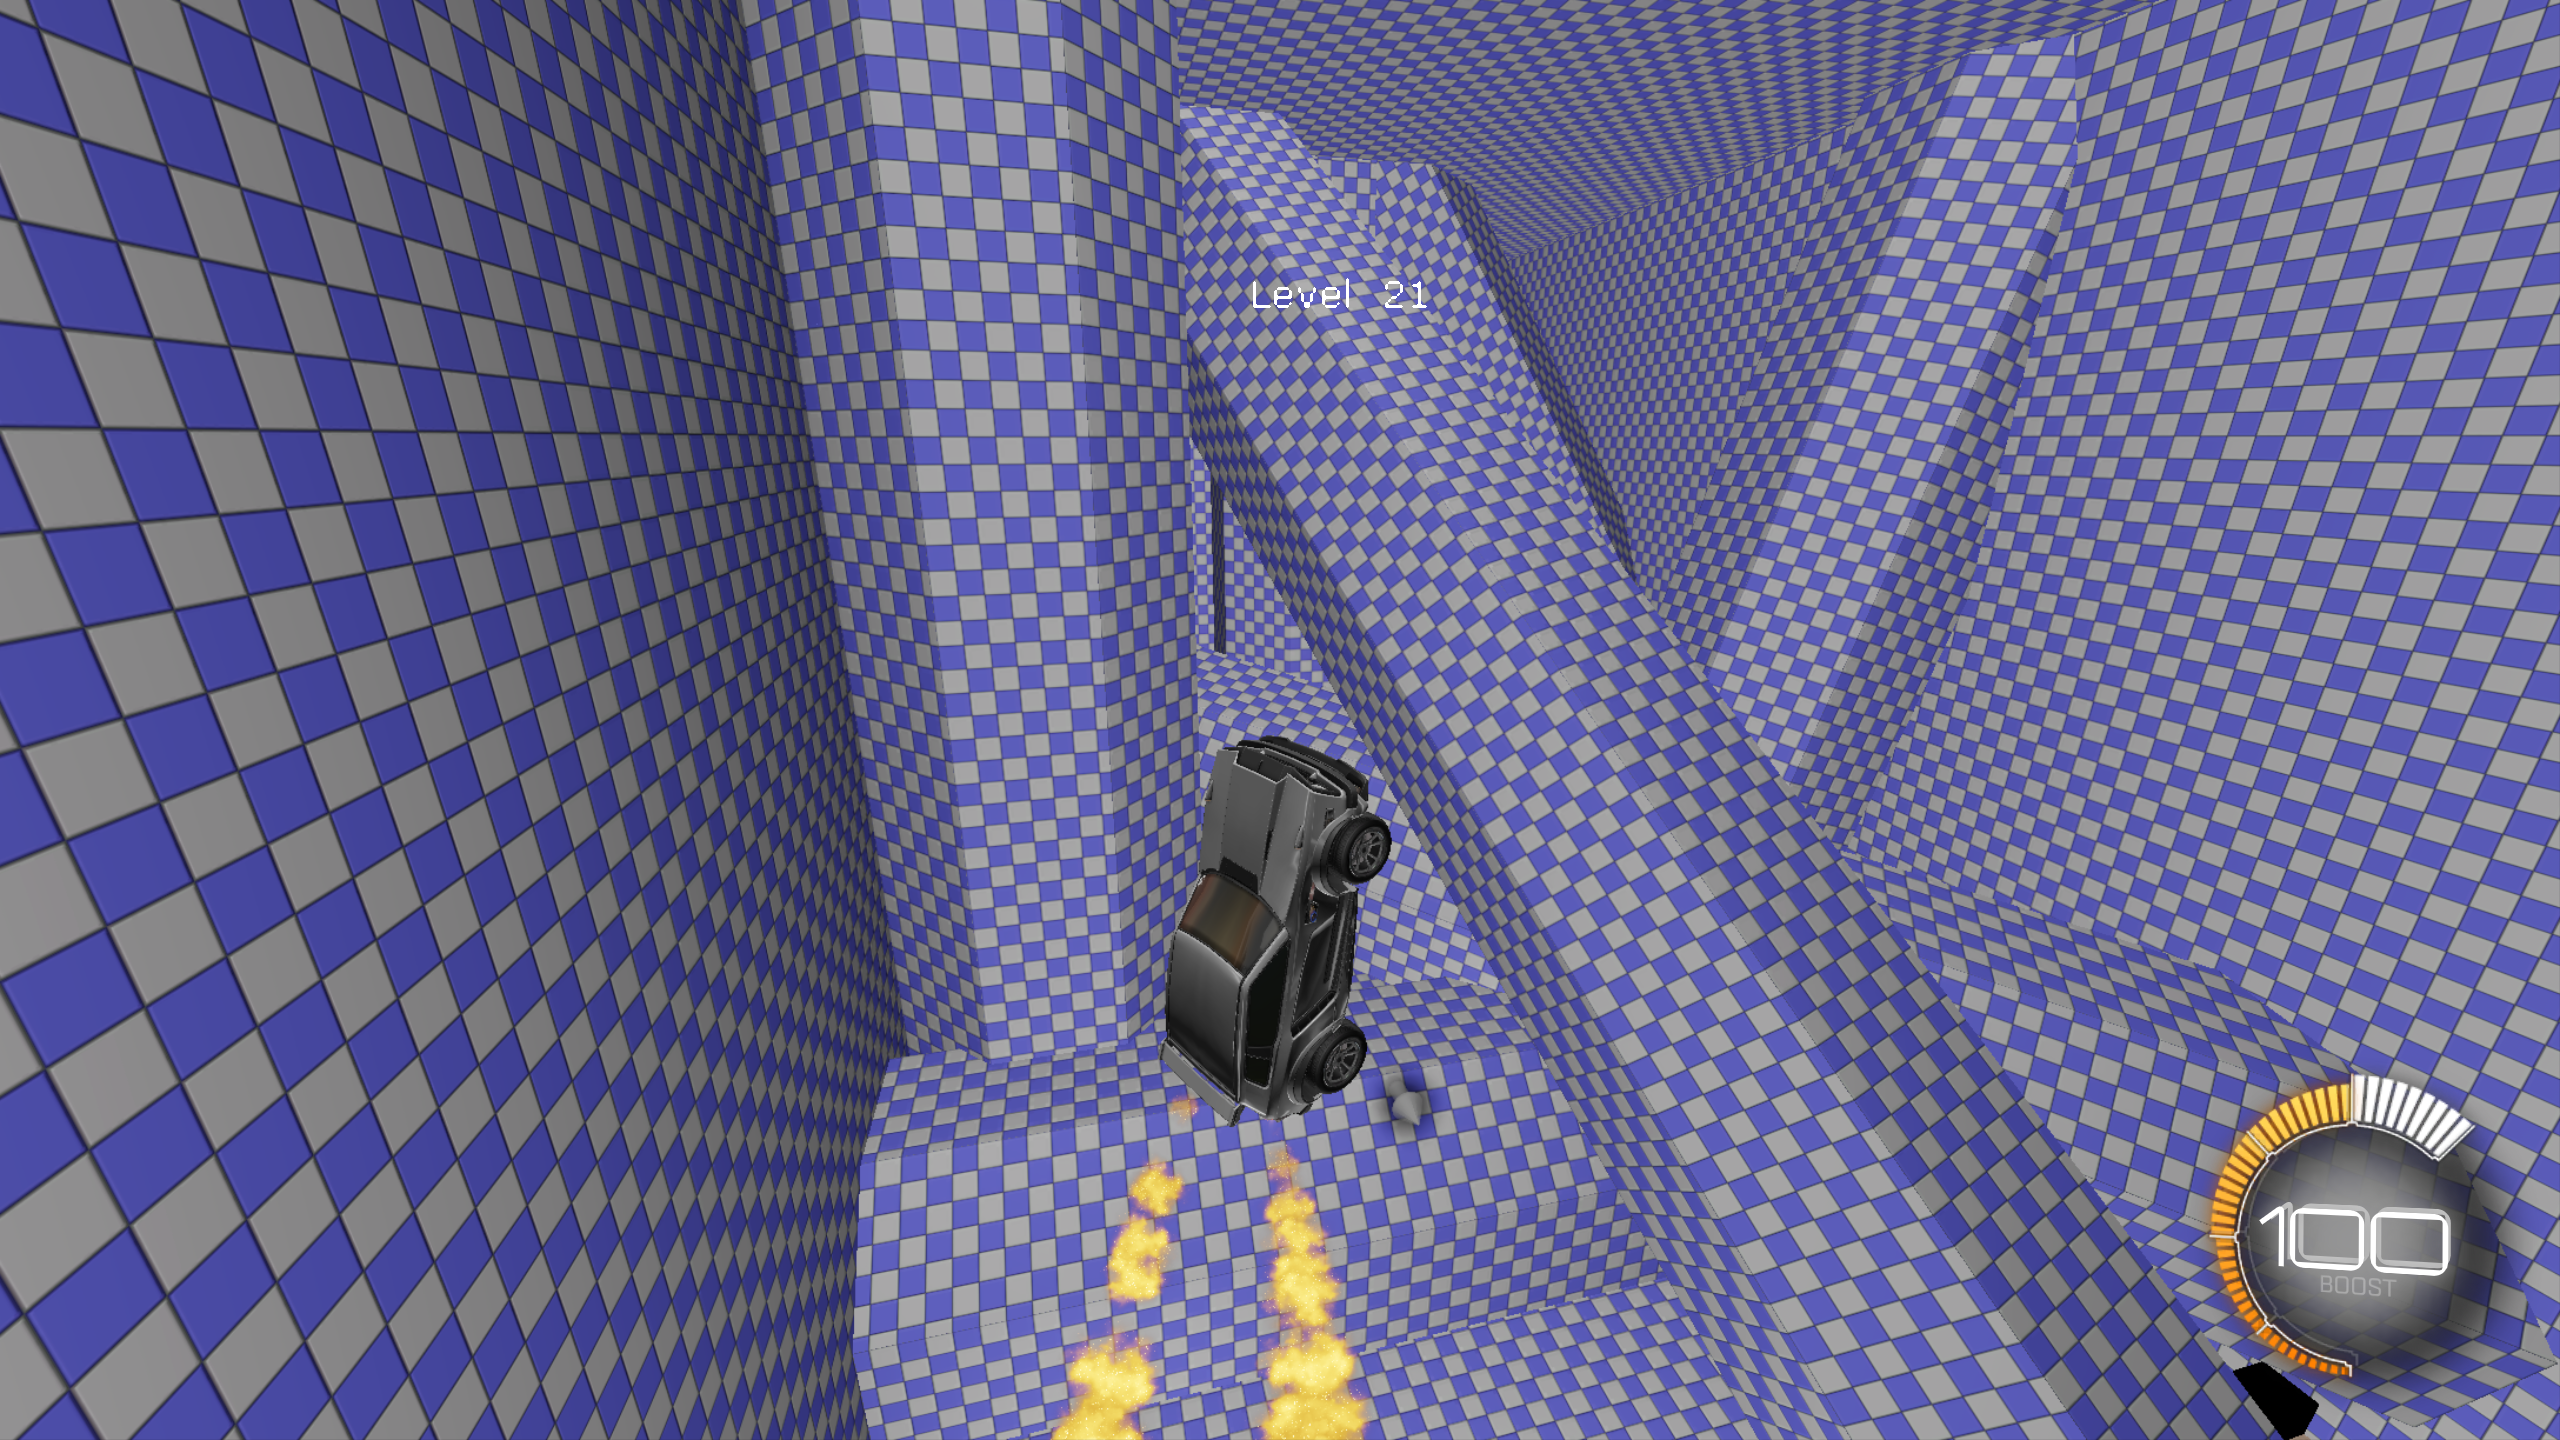
I’ve tried not to show my Rocket League age too much in this list, but this one definitely gives it away. Obstacle Course #2 was released back in 2016, and even with all the flashy modern aerial maps out there, I still think it does things better than most of them.
The layout is wide open, which encourages experimentation and lets you recover from mistakes more easily than some of the tighter rings maps. Don’t let that fool you – there are still plenty of precision-demanding sections throughout. As you get deeper into the map, the levels get longer and more intense, building that pressure that makes you second-guess your recovery path.
One of my favorite features here (and something that’s missing from a lot of rings-style maps) is the awkward camera perspective. If you’re not toggling ball cam here and there, you’re going to be flying blind. That kind of challenge is exactly what you want when trying to level up your awareness under pressure.
The map’s length is also spot on. With 25 levels, it’s long enough to feel substantial but not so long that you’ll burn out. Skilled players can run through it quickly, while newer players will find it a satisfying long-term goal to finish just once.
It may be an old-school pick, but it holds up incredibly well. If you’ve never tried it, now might be the time.
4. Eversax – ChrisGetSchwifty
Category: Ground Dribbling, Aerial Control, Car Control, Deep Study
Difficulty: Very Advanced

Earlier I mentioned the dribble map arms race – well, that race is over, and Eversax won.
This is, without exaggeration, one of the hardest workshop maps ever made. Most players (myself included) will probably never beat it. But that’s kind of what makes it special.
The difficulty is steep, but it’s also fair. Unlike some of the truly punishing dribble or air dribble maps that seem designed for masochists, Eversax gives you a diverse set of challenges. Each level demands a different combination of skills, not just dribbling, but air control, obstacle awareness, recovery, and movement improvisation.
And critically, you can select levels freely. That alone is why this map makes the list. If it forced you to start over from the beginning each time, it’d be more of a novelty than a training tool. But with the ability to tackle individual levels one at a time, it becomes a perfect deep study map – something you can revisit weekly, improving a little at a time.
Be warned though: some levels are long, and several feature brutal transitions — like an air dribble into an immediate tight ground carry. The final level alone has you take the ball from a ground dribble and ascend multiple floors while dodging obstacles like some kind of Rocket League platformer boss fight.
If you ever manage to beat this map from start to finish, there’s no question your mechanical skill is elite. Mechanics will not be the thing holding you back from ranking up.
3. True Neutral’s True Shot – True Neutral (cooptooncrootoo)
Category: Shooting Technique, Read Improvement, Variable Angle Shooting
Difficulty: Intermediate – Advanced
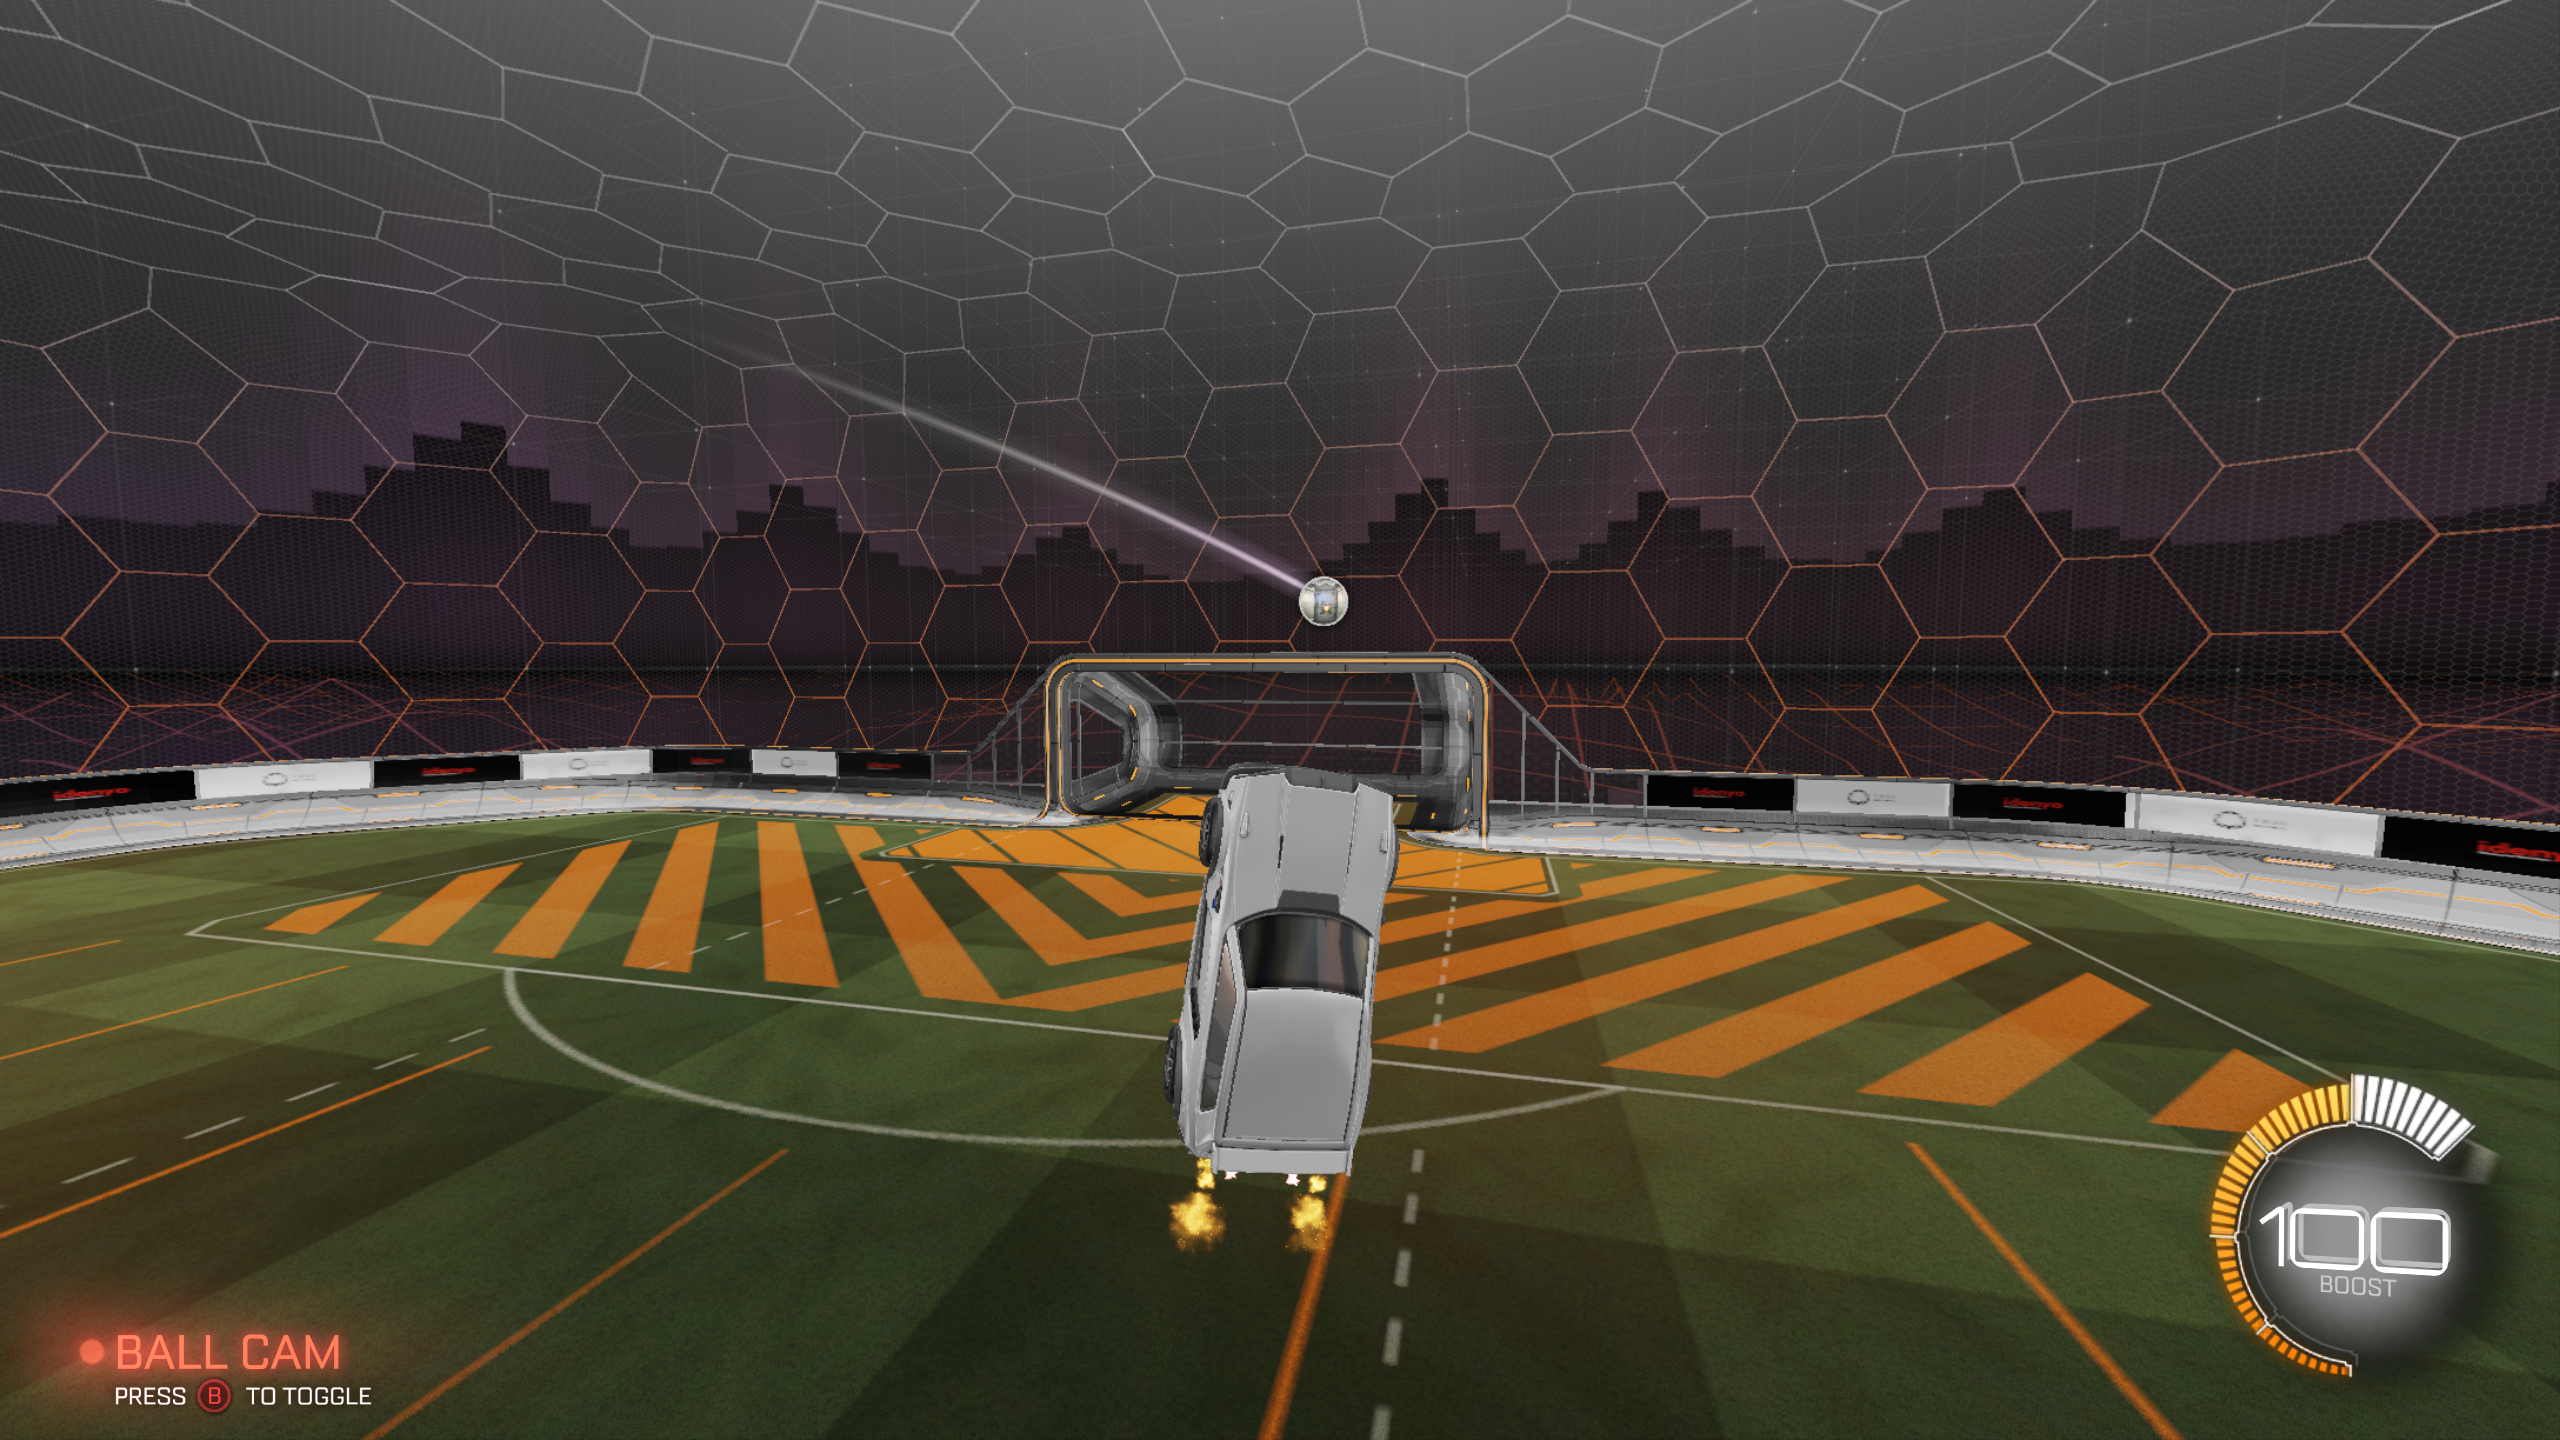
This is the spiritual sequel to Coco’s classic Aim Training map — but with one major difference: True Shot trades the sterile accuracy lab for chaotic, in-game realism.
One of the biggest complaints about traditional training packs is how robotic they feel. You start from a dead stop, every shot is predictable, and after a while you stop reacting and start memorizing. True Shot solves that.
Randomized passes, real angles, live bounces, this is the closest thing we have to actual game shooting practice.
There’s not much more to say: just load it up and get to work. You can tweak the difficulty, skip scenarios you’re not ready for (like high aerials), and tailor the map to your exact goals.
I recommend this to any mid-rank player who wants to become a consistent scoring threat. Carve out 20 minutes a day, throw on your favorite playlist, and start building a rhythm. Of all the workshop maps on this list, this one may give you the fastest in-game returns.
2. Hornet’s Nest – dmc
Category: Recoveries, Fast Movement, Flips, Adaptability
Difficulty: Beginner – Intermediate

Hornet’s Nest is a movement and recovery-focused workshop map where obstacles actively move toward you, forcing quick reactions and sharp control. You’ll navigate through 10 increasingly difficult levels, and once completed, you can ramp up the speed of the obstacles to continue pushing your limits. It’s a reactive, fast-paced challenge unlike any other map, and one of the most effective ways to build fluidity and adaptability in your car control.
This map deserves to be its own official Rocket League game mode. It should be required training for anyone before touching ranked. The progression is fair, the design is tight, and the skill it targets – movement – is one of the most overlooked fundamentals in the game.
Where most maps cater to high-level players, Hornet’s Nest is accessible to everyone. Beginners can move through it step-by-step, while advanced players have space to experiment and refine their style. You can play it clean or get creative – the map rewards both approaches.
I wish I had this when I was starting out in 2016. But you do now. So load up the map, and start building the kind of smooth, responsive movement that sets great players apart.
1. Immortals Tower / The Immortals Progressive Tower – By Simple Shark
Category: General Car Control, Recoveries, Speed, Efficiency
Difficulty: Intermediate – Advanced
Immortals Tower (also known as The Immortals Progressive Tower) is a comprehensive, rank-based workshop map featuring 20 handcrafted levels designed to sharpen every essential Rocket League skill. From aerials and speed control to offense, defense, and tight mechanical movement, this “progressive island” is a true test of your overall car mastery. It emphasizes timing, precision, and boost efficiency, forcing players to adopt a “less is more” mentality while still rewarding creativity and adaptability.
What makes this map stand above the rest is how aggressively it rewards speed and efficiency. Most training maps build up gains slowly over time, and improvement only becomes noticeable after repeated play. Immortals Tower flips that on its head – even a single focused session will leave you feeling snappier and sharper in ranked matches. It doesn’t just train your mechanics; it elevates your awareness, control, and rhythm instantly.
It’s fun, it’s brutal, and it’s endlessly replayable. Whether you’re a rising Diamond player or a high-level Grand Champ refining your form, this map demands your full focus and punishes sloppy play — which is exactly why it’s so effective.
Important note: Some players report issues loading this map on Steam. If it does not load for you, try launching it through Epic Games using a workshop map loader that supports custom assets and configuration. It’s a slight hassle, but trust me – it’s absolutely worth it.
Your Path to Rocket League Mastery
If you’ve made it this far, you already understand the value of structured practice, and these ten workshop maps are some of the best tools out there to sharpen the skills that actually impact your gameplay.
Remember: mastery doesn’t come from cramming a few long sessions into one weekend. It comes from steady, consistent reps. A single three-hour grind might feel productive, but when it comes to true mechanical growth, spreading that time over a week or two – with intention and variation – will always lead to better, more lasting results.
These maps weren’t picked just because they’re fun (though many are). They earned their place here because they demand something of you: precision, focus, control, and commitment. That’s what makes them effective. And that’s what will make you better.
Still, this list is just a starting point. The Rocket League workshop scene is massive, and new maps drop all the time. Did we miss one of your favorites? Did you find a map on this list that clicked with you in a surprising way?
Join our Discord and let us know. We’re constantly looking to refine our recommendations, and hearing from players like you helps us make even better content moving forward.
Frequently Asked Questions
Who can use workshop maps?
PC players only. Steam has built-in Workshop; Epic requires BakkesMod with the Workshop Map Loader.
How do I load maps on Steam?
Subscribe on the Rocket League Workshop page in Steam, then in-game: Play → Custom Games → Workshop.
How do I load maps on Epic Games?
Install BakkesMod → install “Workshop Map Loader and Downloader” → set a maps folder path → search, download, refresh, and load in the plugin.
Are these maps safe? Will I get banned for BakkesMod?
BakkesMod is widely used and generally permitted as long as it does not provide a competitive advantage. It is not officially supported by Psyonix/Epic, so use it at your own risk and download only from official sources.
Which maps improve the fastest?
- True Neutral’s True Shot (game-like shooting reads)
- Immortals Tower (overall control, speed, efficiency).
I’m a beginner. Where should I start?
- Rings 3 (with constraints)
- Hornet’s Nest (recoveries)
- Aim Training (basic shots)
- Obstacle Course #2 (car control)
What’s a good “deep study” map to revisit weekly?
- Dribbling Challenge #2 Overhaul
How long should a session be?
20–40 minutes. Short, focused sessions beat marathon grinds.
How often should I train?
4–6 days per week, rotating focus (shooting, dribbling, movement, defense).
How do I avoid “mindless” reps?
- Use constraints (e.g., ARL/ARR only)
- set streak goals
- vary approach angles
- raise difficulty over time
What if I hit a wall on a map?
Drop to an easier level/section or switch focus for the day, return fresh next session.
Do these maps help in real games?
Yes—prioritize maps with realistic reads and recoveries (True Shot, True Defense, Hornet’s Nest).
Can console players do anything similar?
Use in-game Custom Training packs and Free Play routines; no direct Workshop support.
How do I track progress?
- Record clear times
- streak counts (e.g., 20 power shots in a row)
- note missed recoveries
Suggested warm-up (10–15 min)?
- 5 min Aim Training
- 5 min Hornet’s Nest
- 2–5 min Free Play touches and recoveries.
What ranks are these for?
Diamonds to high Champs benefit most, but several maps (Rings 3, Hornet’s Nest, Aim Training) fit beginners.
Are the maps free?
Yes. Workshop access and BakkesMod are free.
How do I keep from tilting?
- Set small goals
- cap attempts per section
- switch maps on frustration
- end on a win (easy streaks)
What’s a simple weekly plan?
- Mon: True Shot (20–30m)
- Tue: Dribble 2 Overhaul (20m)
- Wed: Hornet’s Nest + Obstacle #2 (30m)
- Thu: Free Play + Aim Training (20m)
- Fri: True Defense (20–30m)
- Weekend: Optional Eversax/The Path attempts or rest
When should I stop a session?
When form drops or frustration rises. Quality over quantity.
What if a map won’t load?
- Verify BakkesMod/plugin installed
- set/save the maps folder path with a trailing “/”
- refresh maps
- restart the game if needed
What order should I practice in a single session?
- Movement (Hornet’s Nest/Obstacle)
- Precision (Aim/True Shot)
- Deep study (Dribble/Eversax).
How soon will I see results?
Often within a week with consistent, intentional practice.